
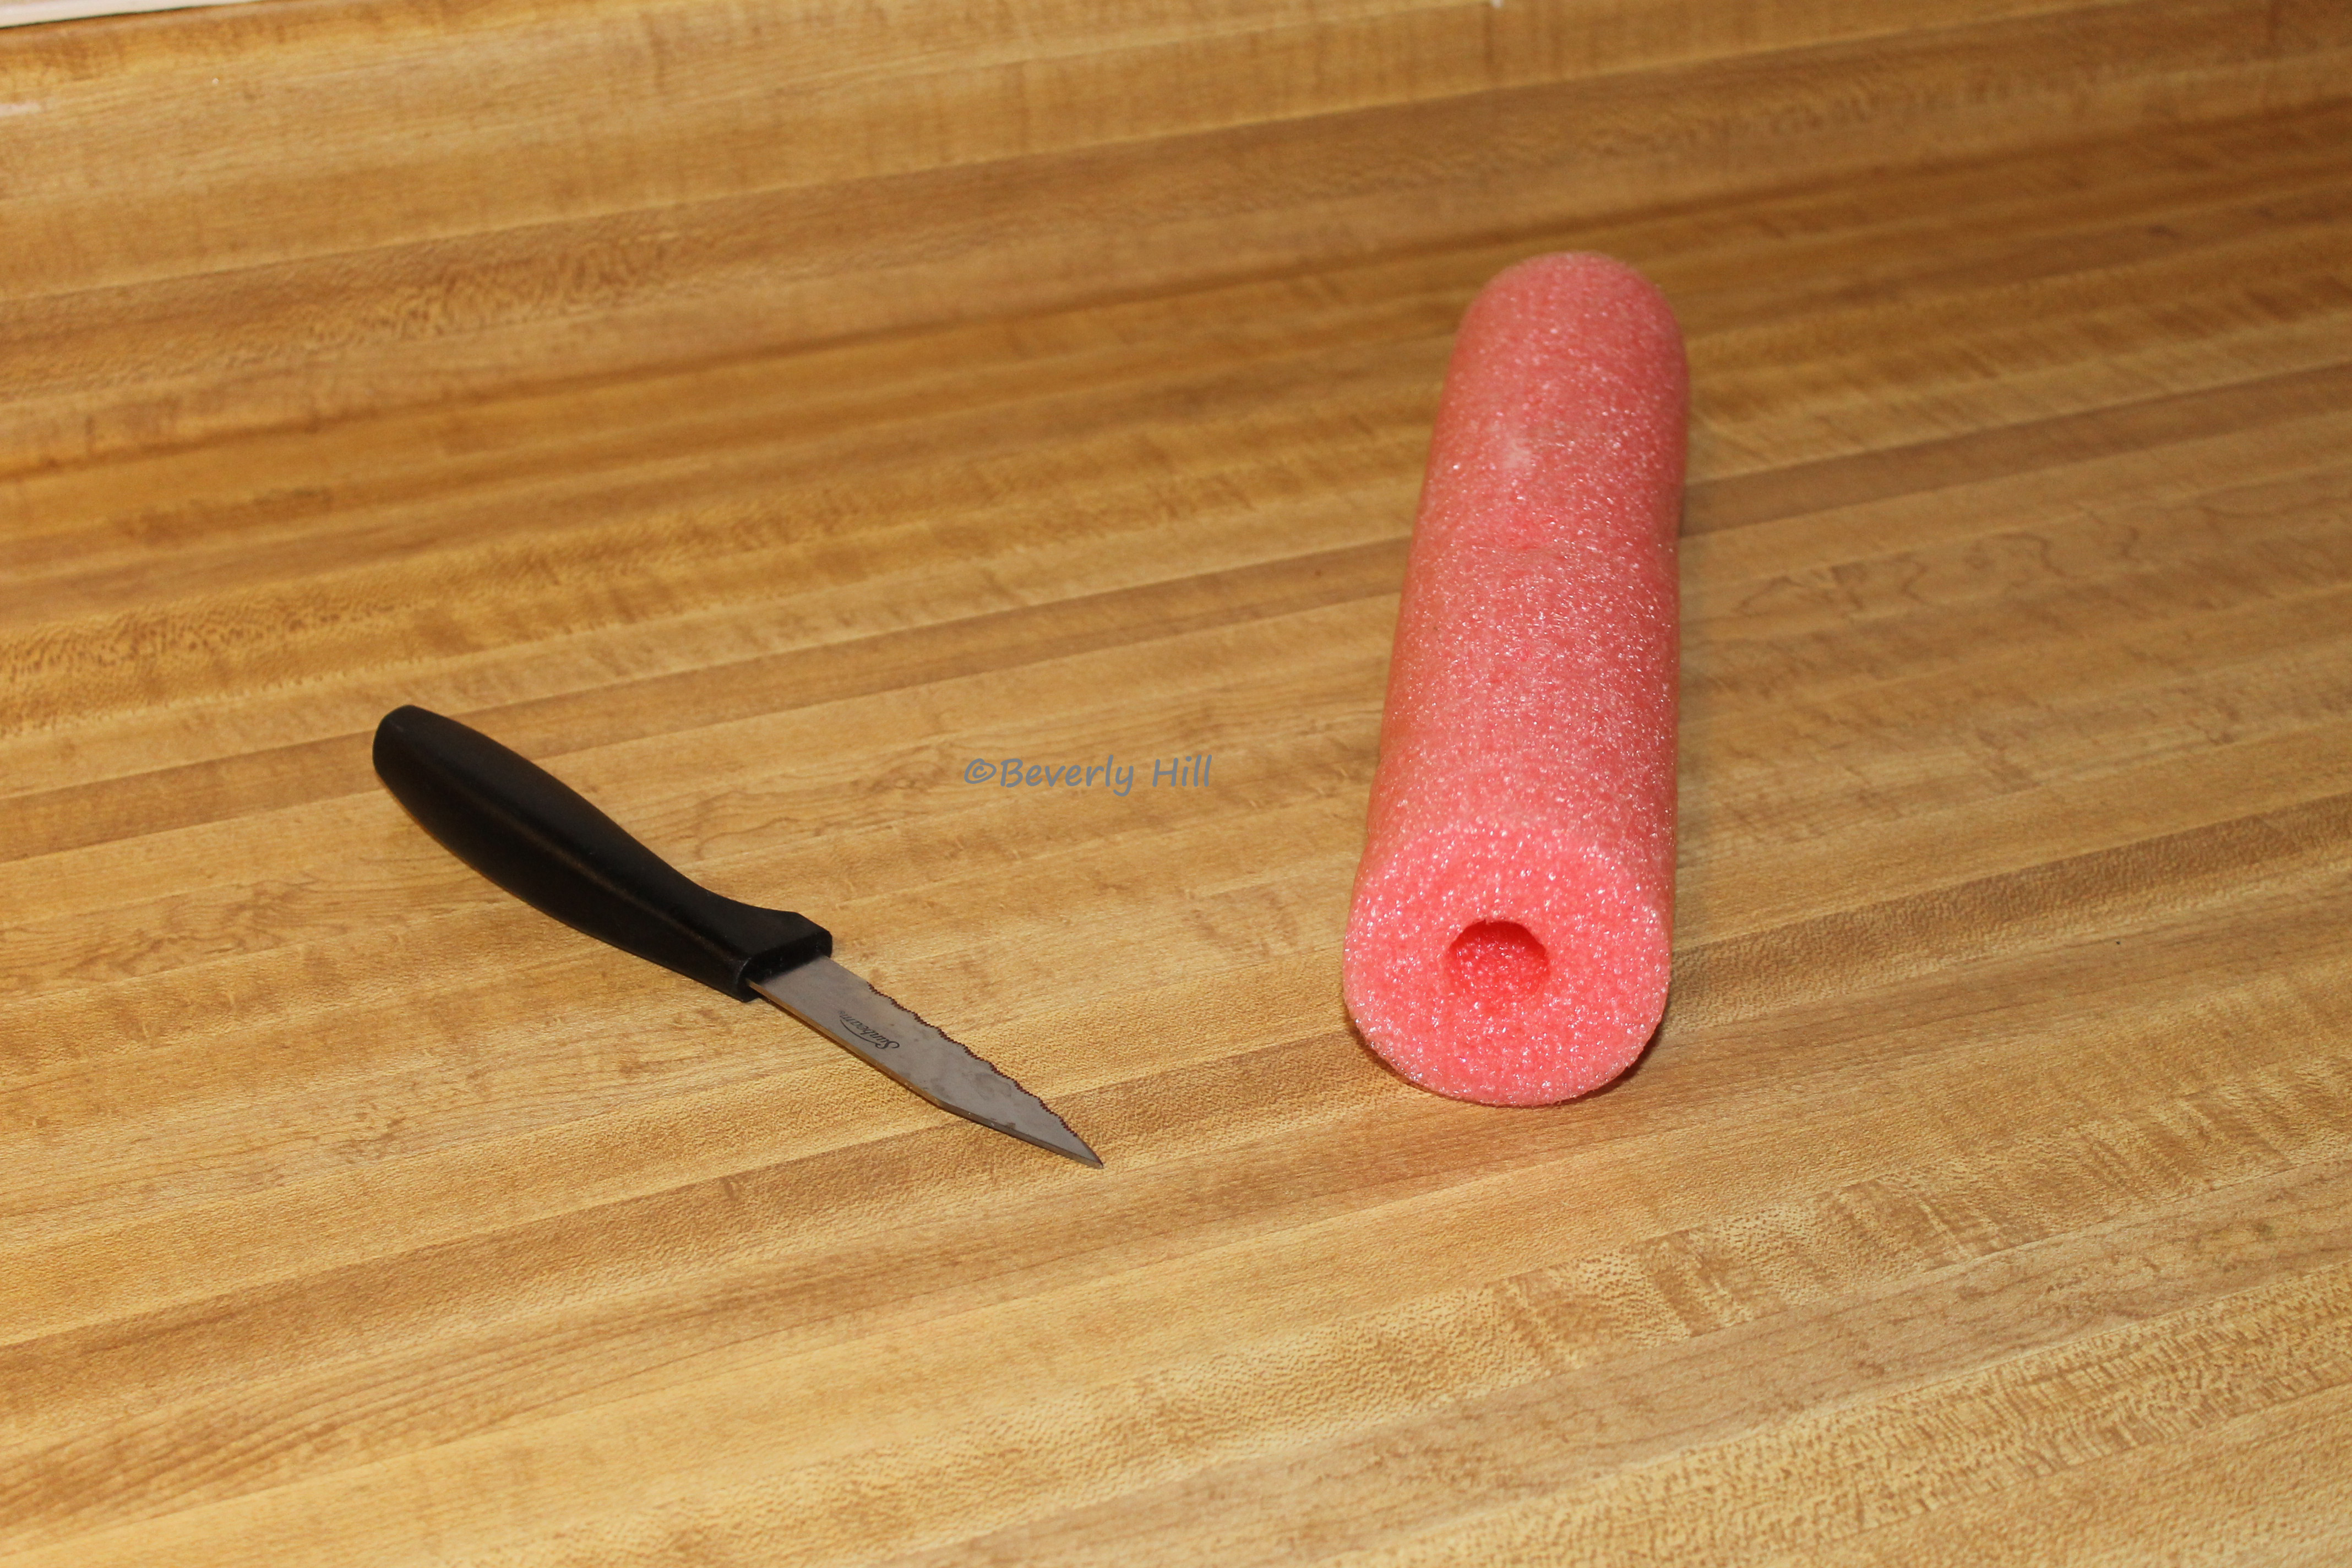
Fun noodle and knife.
This short guide will demonstrate how to make an inexpensive camera float for your waterproof camera. Yes, there are $6 – $20 floats out there, but this float works just as well as the expensive ones.
First, obtain a length of fun noodle. These are usually only about a $1.00 and come in a wide variety of colors. One noodle will make a dozen or more floats depending on the length.

Cut a section of noodle.
Cut a 2-3 inch section from the noodle. This size float works well with most cameras. Test in a 5 gallon bucket before use.
Take the knife and make a slit down one side. This is to allow the camera strap to slip into the center of the noodle.
Next, cinch down the wrist strap to the noodle and voila! A camera float! Absolutely invaluable in a camera rescue and easily removable when not in use.
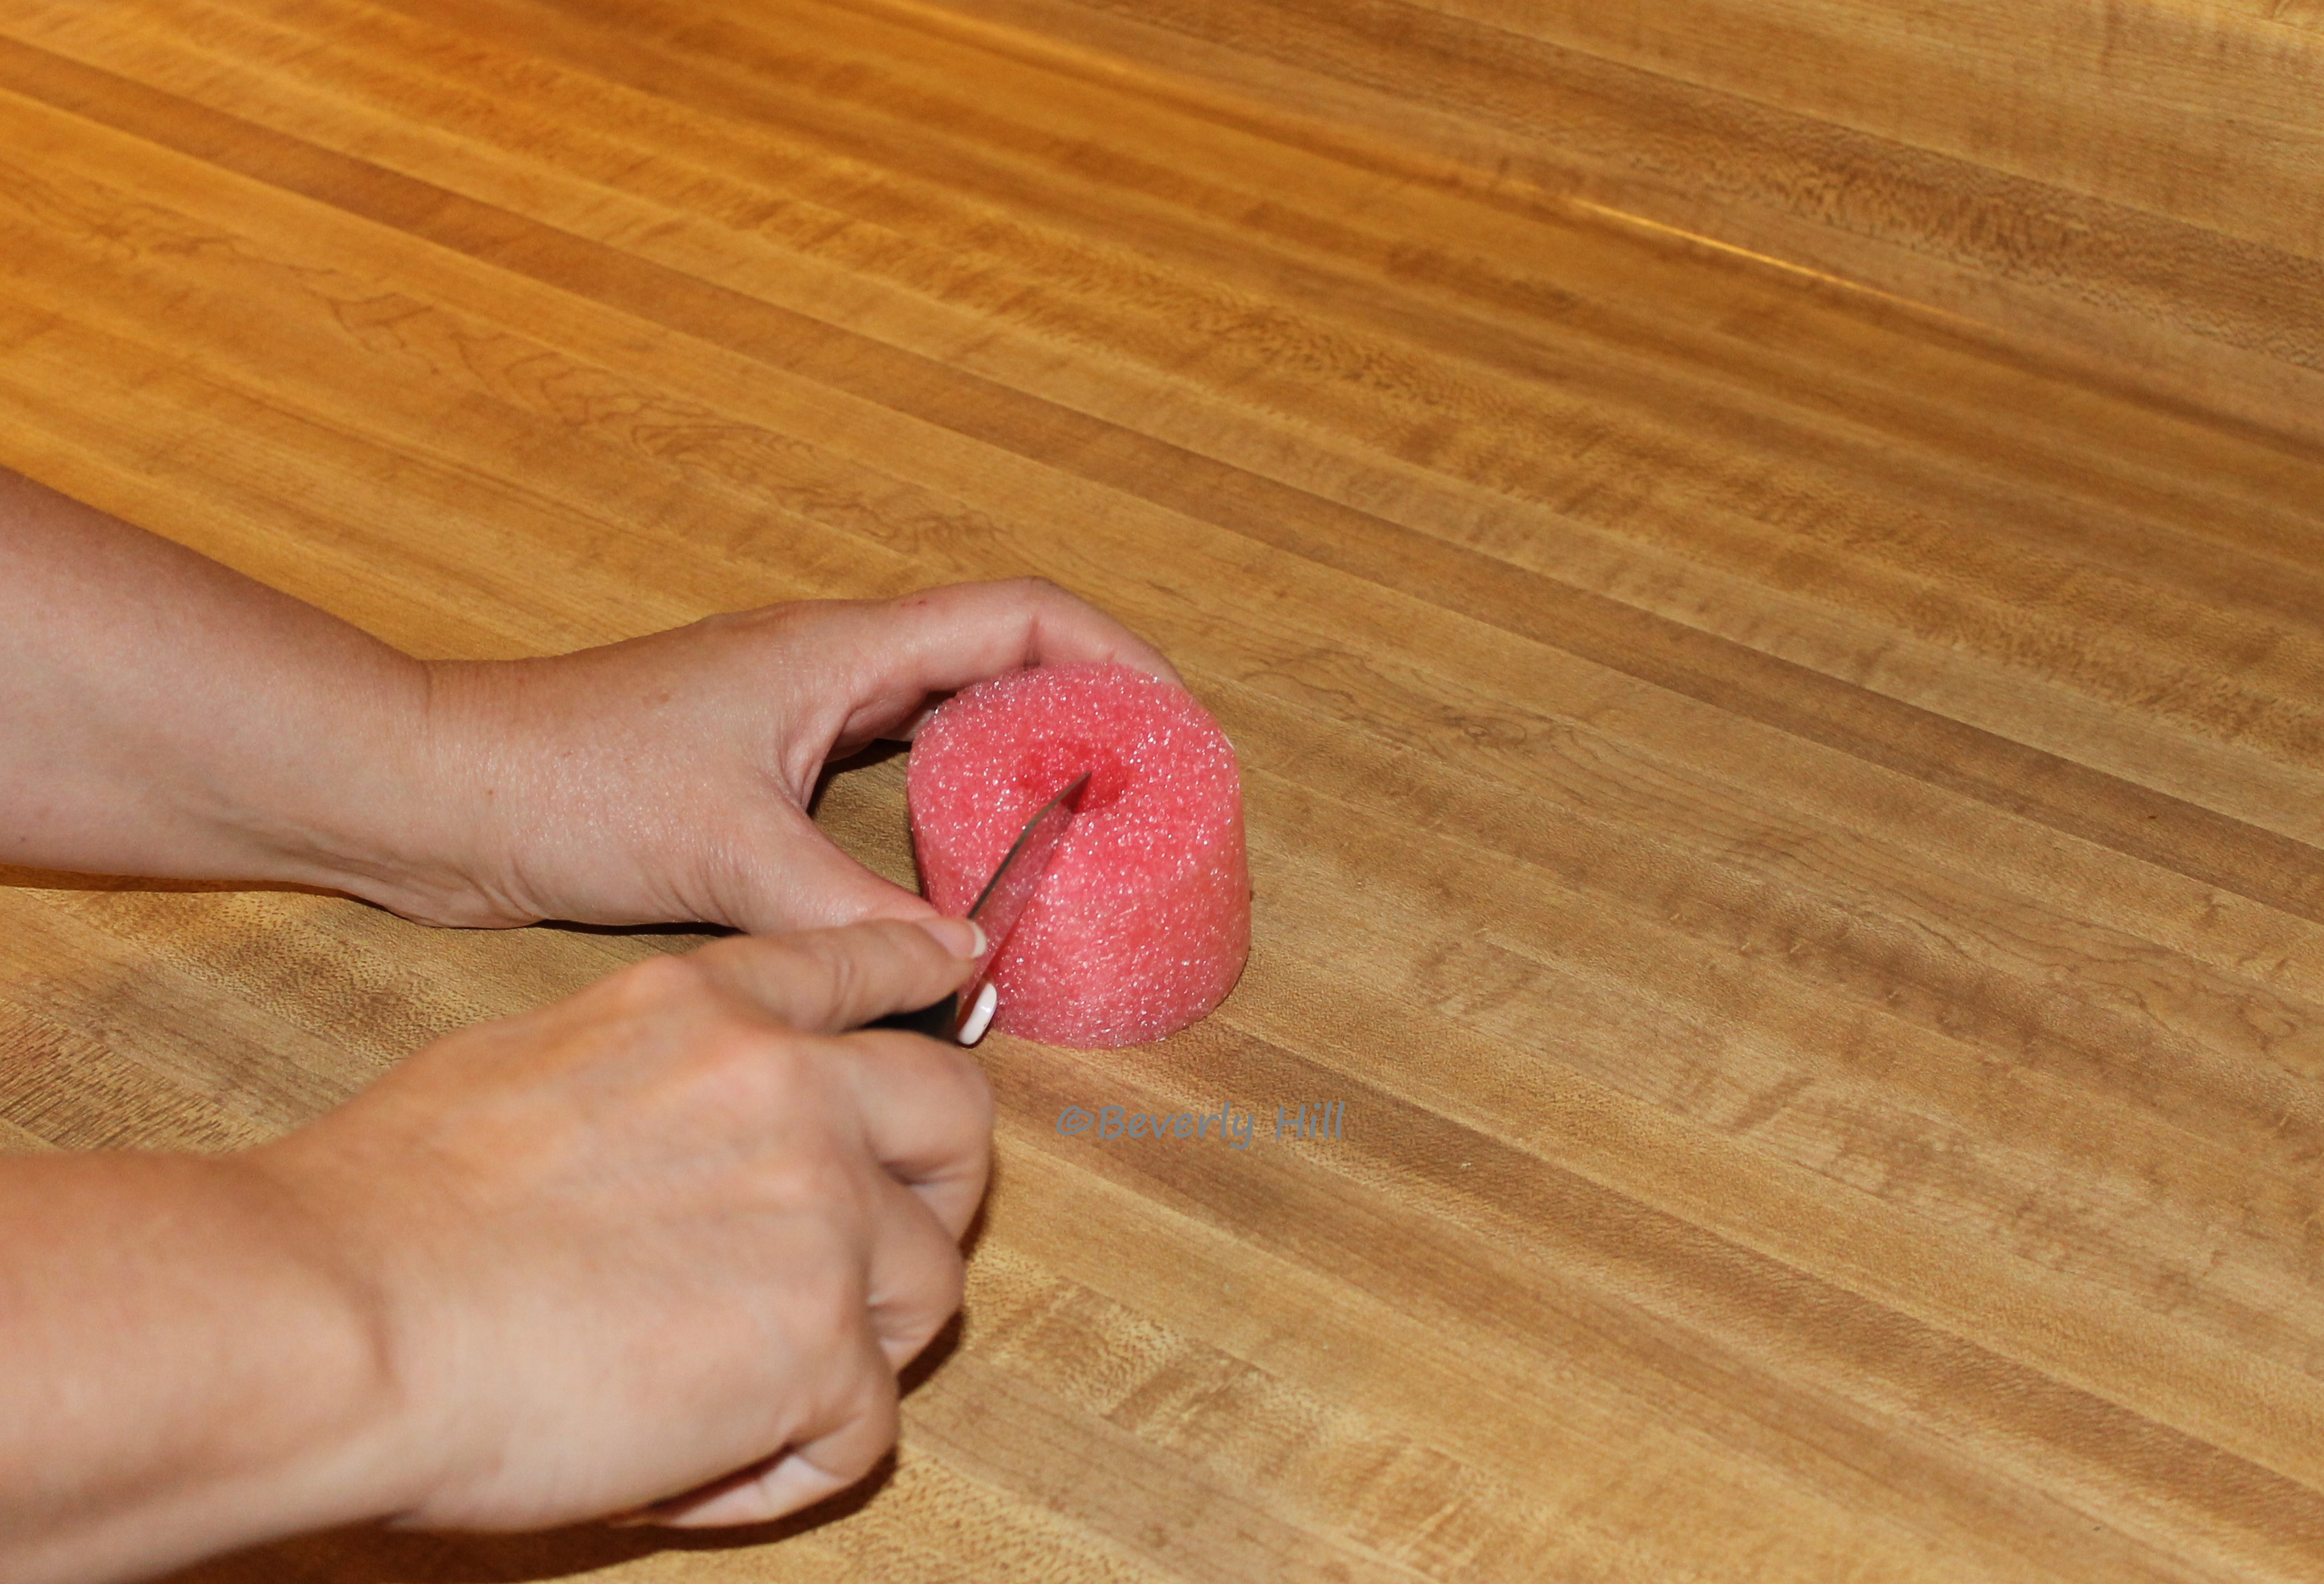
Cut a slit in the fun noodle.
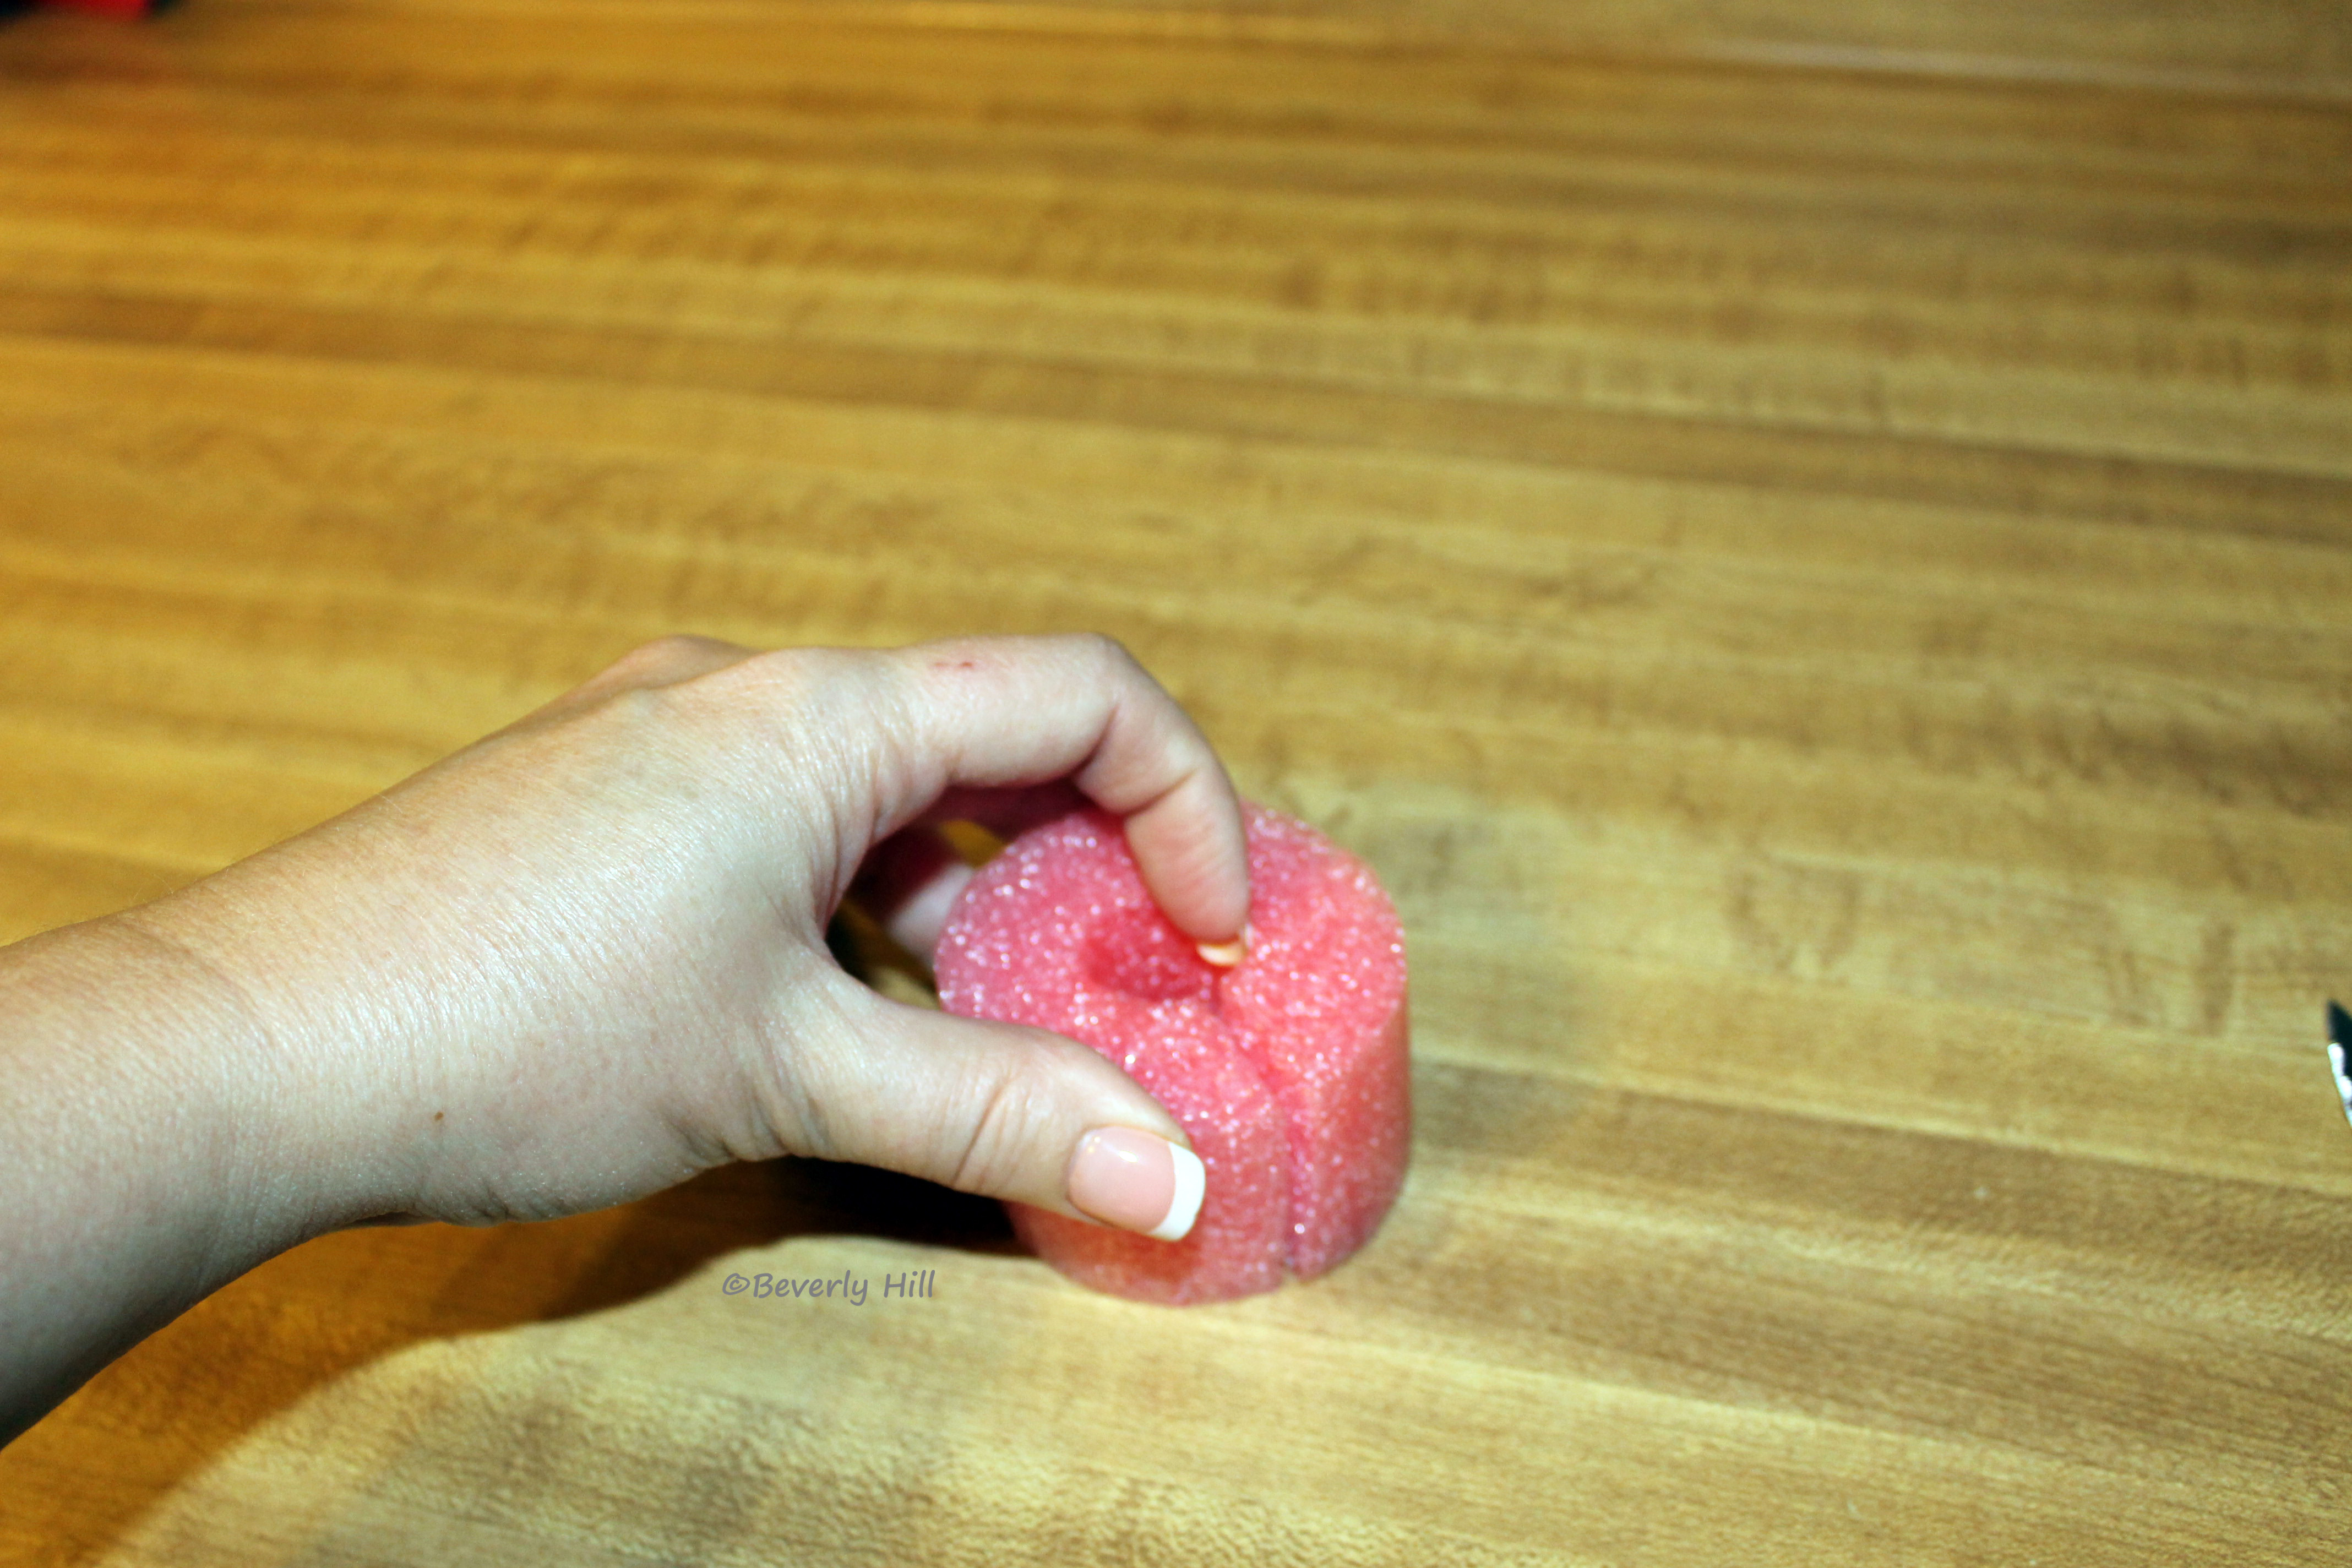
Open the slit wide enough to slip over the camera strap.

Slip float onto the camera strap.

Cinch down the wrist strap and you’re done!
[amazon template=iframe image&asin=B0054L1SOM]